
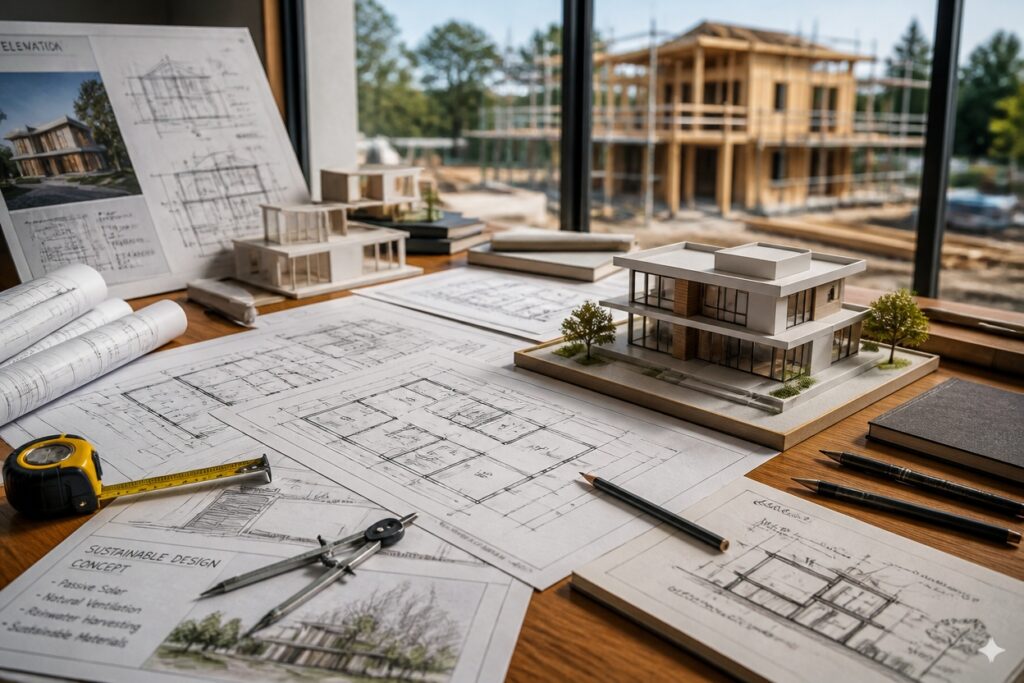
Building a home is one of those life moments that feels exciting and overwhelming all at once. The good news? A little structure goes a long way in keeping the stress manageable.
The process unfolds in clear stages, starting with site assessment and zoning checks. From there, you’ll nail down a realistic budget, find the right team, and lock in your materials. Each step has its own quirks to navigate, so patience really does pay off.
Of course, surprises still find their way in. Foundation work can reveal hidden costs, permits sometimes take longer than expected, and labor shortages or quality hiccups can throw off your timeline. Knowing these bumps exist ahead of time helps you stay steady when they show up.
The goal is simple: go in with eyes wide open, make choices that feel right for your situation, and give yourself grace through the messy middle. A well-planned start sets the tone for everything that follows.
Start Your Residential Construction Plan: Site and Vision Assessment
Know Your Property
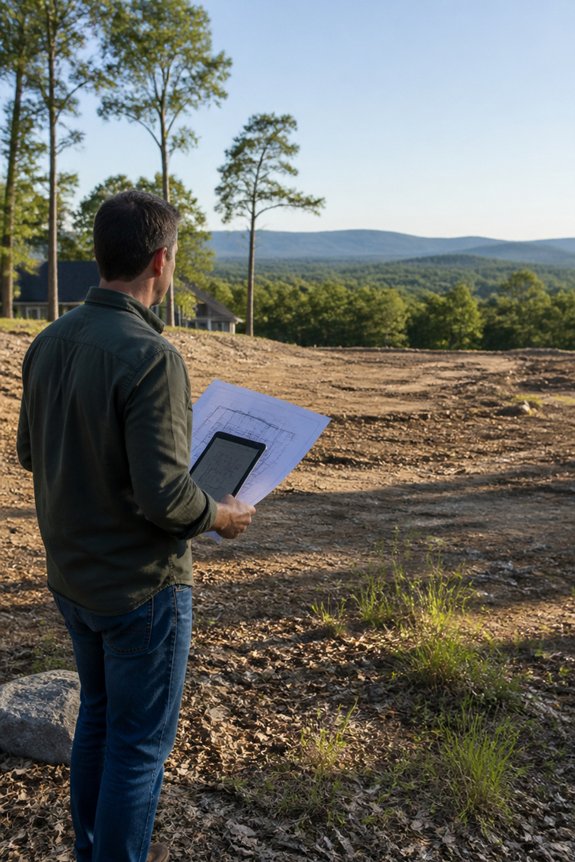
Where is your lot located? Start by checking local zoning rules. Soil quality matters too. Make sure utilities can reach your build site.
Think about your budget early. How much space do you need? List your must-have rooms. Count bedrooms and bathrooms. Plan your kitchen carefully.
Check the Physical Site
Walk your property with fresh eyes. Note where trees stand. Check if the land slopes. Look for any existing buildings nearby.
Building codes vary by area. Permits will be specific to your location. Call your local planning office if you need clarification.
Map It Out
Grab rough dimensions of your lot. Which way does it face? Sunlight patterns affect your design. Sketch some early ideas on paper.
Record Everything
Take photos from multiple angles. Measure distances with a tape. Write down anything unusual. Your notes will save time later.
Some site issues need expert eyes. Surveyors can mark exact boundaries. Engineers spot problems you might miss. Their input helps you avoid costly surprises.
This early work shapes every choice ahead. A solid assessment keeps your project on track.
Figure Out Your Budget and Secure Financing
With the site assessment complete, it’s time to figure out your budget and secure financing. Start by gathering quotes from several contractors. Then calculate material costs, permits, labor, and a buffer for surprises.
Most single-family homes run $100 to $200 per square foot. The final number depends on your location and how complex the design is.
You have several ways to fund the build. Construction loans work well for new projects. You might also look at conventional mortgages, home equity lines, credit, or personal savings.
Lenders usually ask for 20 to 25 percent down. They’ll also want detailed plans and proof your contractor is qualified.
Shop around before committing. Compare rates, terms, and fees from different banks or credit unions. A little extra research now can save you thousands over the life of the loan.
Work Through Zoning Laws and Permits
Start by checking local zoning rules before any construction begins. These rules cover land use, building height, setbacks, and lot coverage. Getting this right early prevents expensive delays later.
Permits You’ll Need
Building, electrical, plumbing, and mechanical permits are usually required. Submit detailed plans along with the proper fees. Some areas also ask for environmental checks, especially near wetlands or flood zones.
Timeline and Inspections
The permitting process often spans several weeks to a few months. Inspections happen at key stages: foundation, framing, mechanical systems, and final walkthrough. Skipping permits can lead to steep fines, work stoppages, or even orders to tear down completed work.
Choose Your Contractor and Design Team
Securing permits and scheduling inspections is just the beginning. Now comes one of the biggest decisions of your project.
Start by checking licenses, insurance, and references. Talk to past clients about their experience. This groundwork protects you from costly surprises later.
Architects shape your vision into detailed plans. Contractors turn those plans into reality, managing crews and timelines. You need both skill sets working together.
Get written bids from at least three firms. Compare what each includes, not just the bottom line. Check credentials through your local licensing board. Confirm bonding meets your area’s requirements.
Meet teams face to face before hiring. Ask about similar projects they’ve completed. Notice how well they listen and explain things.
Set clear expectations from day one. Discuss how you’ll communicate, when payments are due, and how to handle disagreements. Put it all in writing.
A solid partnership between your contractor and designer makes construction smoother. Fewer headaches mean you can focus on watching your home transform.
Map Your Construction Timeline
Construction timelines break the building process into clear phases. Each phase needs specific time and depends on work that came before it.
Most home projects take six to twelve months. This includes permits, foundation, framing, mechanical work, and finishing.
Each step builds on what was finished earlier. This creates a natural order that shapes your schedule.
Weather, material delays, and inspections can shift your timeline. Plan for these common hiccups.
Track your milestones and check progress often. Stay in touch with your contractors about any delays.
Add two to four weeks of buffer time. This breathing room handles surprises without derailing everything.
A clear timeline sets realistic expectations. It also helps trades work together smoothly, which cuts down on conflicts and extra costs.
Plan for Hidden Costs and Build Your Contingency Buffer
Hidden costs pop up in most home construction projects. They strain your budget and push back your timeline. That’s why a contingency buffer matters.
Set aside ten to twenty percent of your total budget. This reserve handles the surprises you can’t predict.
What Counts as Hidden
Permit fees sometimes jump unexpectedly. Demolition can reveal structural damage you didn’t see coming. Material prices shift, and labor gets complicated fast.
Your site might need special equipment or extra hands. Inspectors may require code upgrades you hadn’t planned for. Weather delays stretch timelines and add costs.
Why the Buffer Helps
Adequate reserves keep your project moving. You won’t panic when something goes wrong. Construction proceeds smoothly, even when surprises hit.
Prepare Your Site and Foundation Strategy
A solid foundation starts with careful site preparation. Homeowners should assess soil conditions, drainage patterns, and ground stability through professional testing.
Clearing vegetation comes first. Remove debris and level the land to create a proper building surface. This groundwork sets the stage for everything that follows.
Foundation type depends on your soil and local codes. Concrete slabs work well in some areas. Crawl spaces and basements suit others. A professional can help you choose.
Water management matters. Proper grading directs rainfall away from your structure. This simple step prevents costly moisture damage down the road.
Safety comes before digging. Always identify and mark underground utility lines. This protects workers and prevents service interruptions.
Budget wisely for this phase. Site preparation typically runs 5-15% of total project costs. Accurate planning now prevents delays and structural headaches later.
Lock Down Materials and Labor Before Breaking Ground
Secure Your Essentials Early
Finalized site plans mean it’s time to lock in materials. Homeowners should act fast. Lumber, concrete, and steel prices can shift quickly. Supply shortages cause frustrating delays. Binding quotes from several suppliers protect your budget. Align delivery schedules with each construction phase.
Get Your Crew Lined Up
General contractors need skilled workers on standby. Reach out to licensed electricians, plumbers, and framers early. Written labor agreements ensure they arrive when needed. Put everything in writing. Contracts should spell out costs, timelines, and performance standards.
Cover Your Bases
Permits and insurance fall into place during this phase too. Early procurement keeps construction smooth. Crew scheduling prevents interruptions. Projects stay on budget and finish on time.
Set Your Inspection Checkpoints and Quality Standards
Inspections matter from day one. They catch small issues before they grow into expensive headaches. Set clear checkpoints and stick to them.
Homeowners benefit from inspections at key moments. Schedule them at foundation completion, framing, electrical rough-in, plumbing rough-in, and right before drywall goes up. Each stage needs three things checked: building code compliance, material quality, and workmanship standards.
What should inspectors look for? Foundation cracks, framing alignment, electrical wire sizing, plumbing connections, and HVAC ductwork. Take photos at every visit. Keep written reports too. This paperwork builds accountability and tracks progress over time.
Consider bringing in a third-party inspector. They offer fresh eyes without ties to your contractors. Their assessments stay truly objective.
Regular inspections pay off in three ways. They prevent costly fixes down the road. They keep your home safe. And they protect your investment from start to finish.
Execute Your Final Walkthrough and Occupancy Prep
Execute Your Final Walkthrough and Occupancy Prep
The final walkthrough is your last chance to check that everything meets your agreed standards. Walk through each room with purpose. Open every door and window. Test all fixtures, appliances, and systems. Turn lights on and off. Run the faucets. Flush the toilets.
Take photos of anything that looks wrong. Write it down. This documentation helps you discuss fixes with your builder. Check your water pressure at multiple taps. Plug something into outlets to confirm they work. Turn on the heat and make sure it responds.
Look outside too. The ground should slope away from your foundation. Landscaping should be complete. Your driveway should look smooth and ready for use.
Getting Your CO and Moving Forward
Contact your local authority to obtain your certificate of occupancy. This confirms your home meets all building regulations. You will need this before you can legally move in.
Schedule your utility activations early. Arrange for a thorough cleaning of the entire home. Register your new address with the post office, your bank, and any other important services. These steps smooth your transition into your new space.
Frequently Asked Questions
How Do I Choose Between Custom Build, Semi-Custom, and Spec Home Options?
Homebuyers should evaluate their budget, timeline, and design preferences. Custom builds offer complete personalization but require longer timelines and higher costs. Semi-custom provides flexibility within established parameters. Spec homes deliver immediate occupancy at lower prices with limited customization options.
What Are the Typical Utility Connection Costs and Timelines for New Construction?
Utility connection costs typically range from $3,000 to $25,000 depending on distance and infrastructure availability. Timelines vary from 4 to 12 weeks, influenced by utility company schedules and local permitting requirements.
How Should I Plan for Post-Construction Landscaping and Exterior Finishing Work?
Post-construction landscaping requires budgeting 5-15% of total project costs. Homeowners should finalize designs before construction ends, obtain necessary permits, schedule work during appropriate seasons, and coordinate with contractors for soil preparation and drainage solutions.
What Insurance Coverage Do I Need During the Construction Phase?
Like a safety net beneath a tightrope walker, builders need general liability insurance covering bodily injury and property damage. Workers’ compensation protects employees. Builders risk insurance shields the structure itself during construction phases.
How Can I Minimize Construction Disruption to Neighboring Properties During Building?
Homeowners minimize construction disruption by scheduling work during permitted hours, installing temporary barriers and dust controls, maintaining clear site access, communicating regularly with neighbors, and hiring contractors experienced in residential proximity management.
Conclusion
Residential construction functions as a layered blueprint, where each stage builds upon the previous one. Site assessment forms the foundation, budget and financing provide the structure, permits and planning create the framework, and contractor selection supplies the framework. Inspections serve as checkpoints along the journey, while final walkthroughs confirm completion. This systematic approach transforms an idea into a tangible home, minimizing costly errors and delays throughout the process.